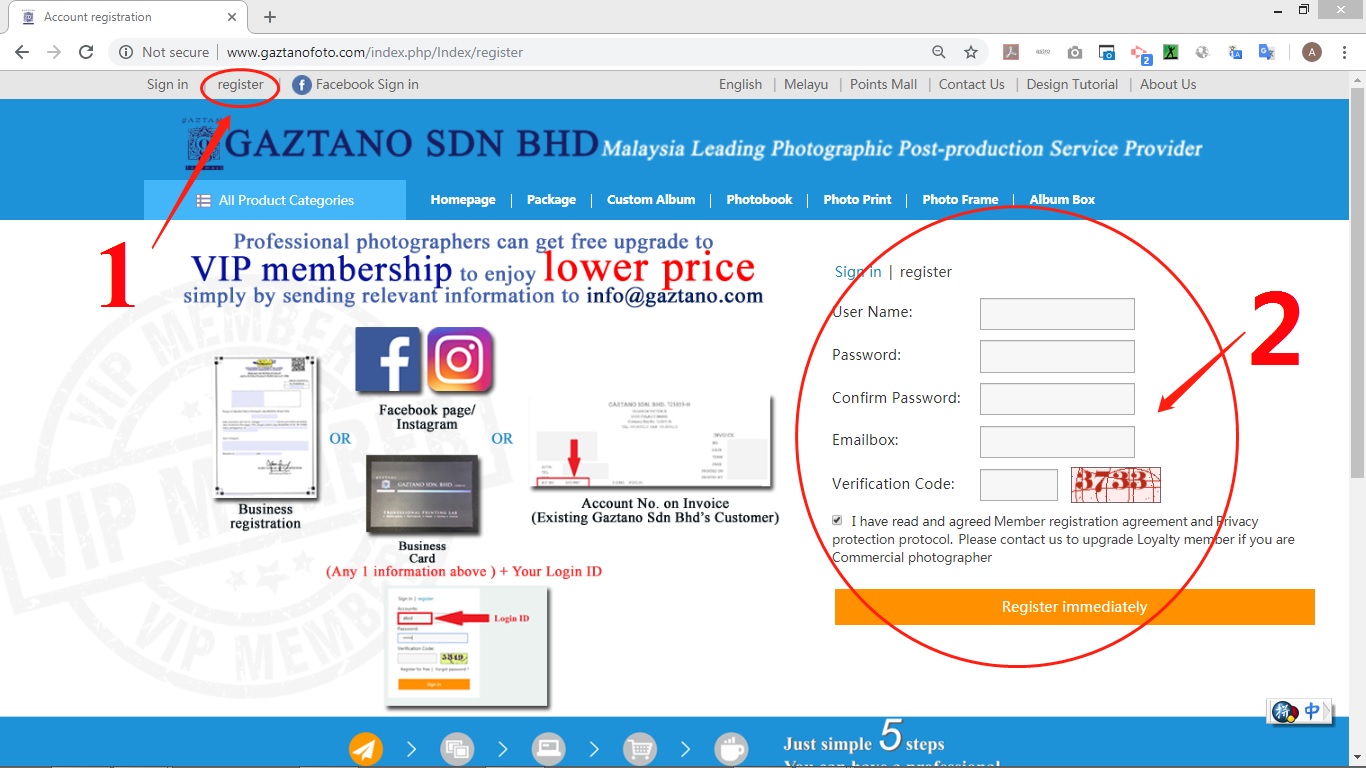
1) Visit http://www.gaztanofoto.com , click on the “Register” on the upper right corner of the page and fill in your registration information.
2) (A) Select your product by size in “All Product Categories” menu.
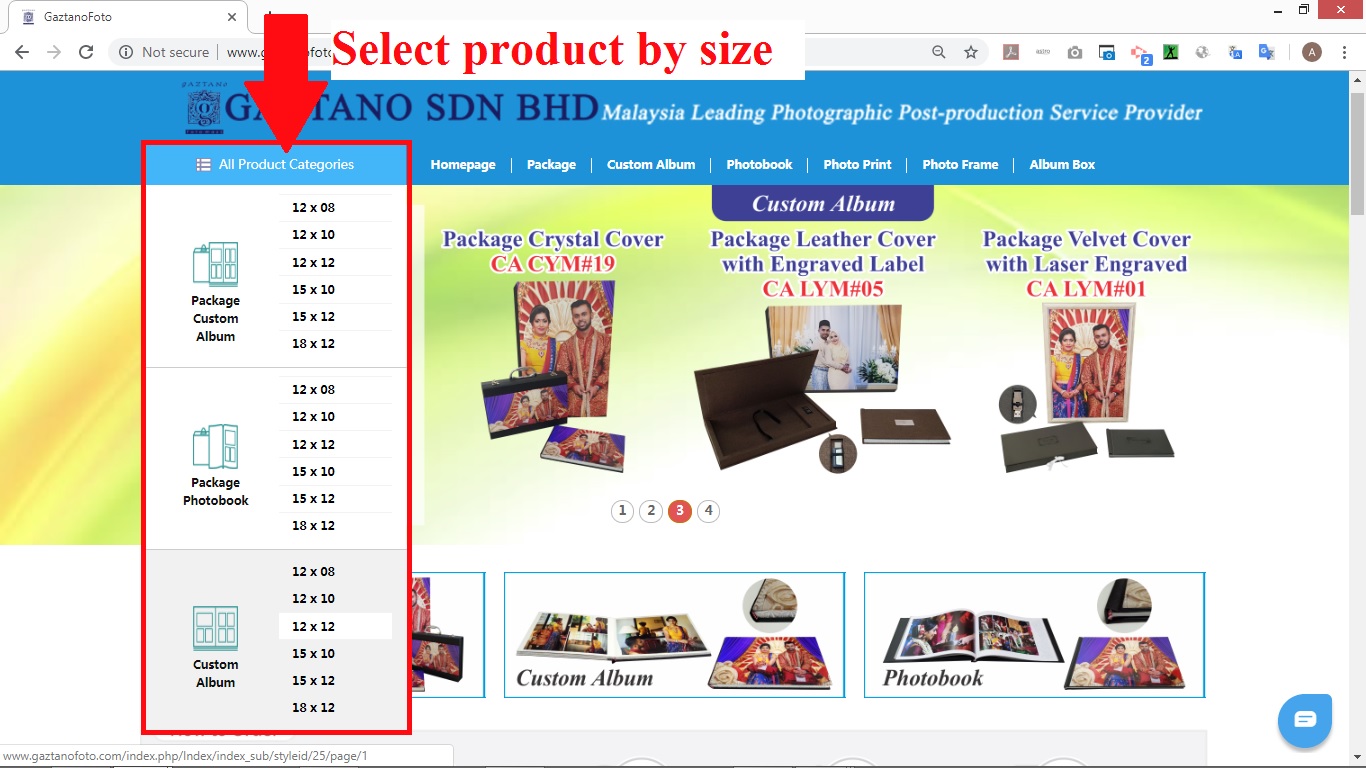
(B) Click on product photo to view product details.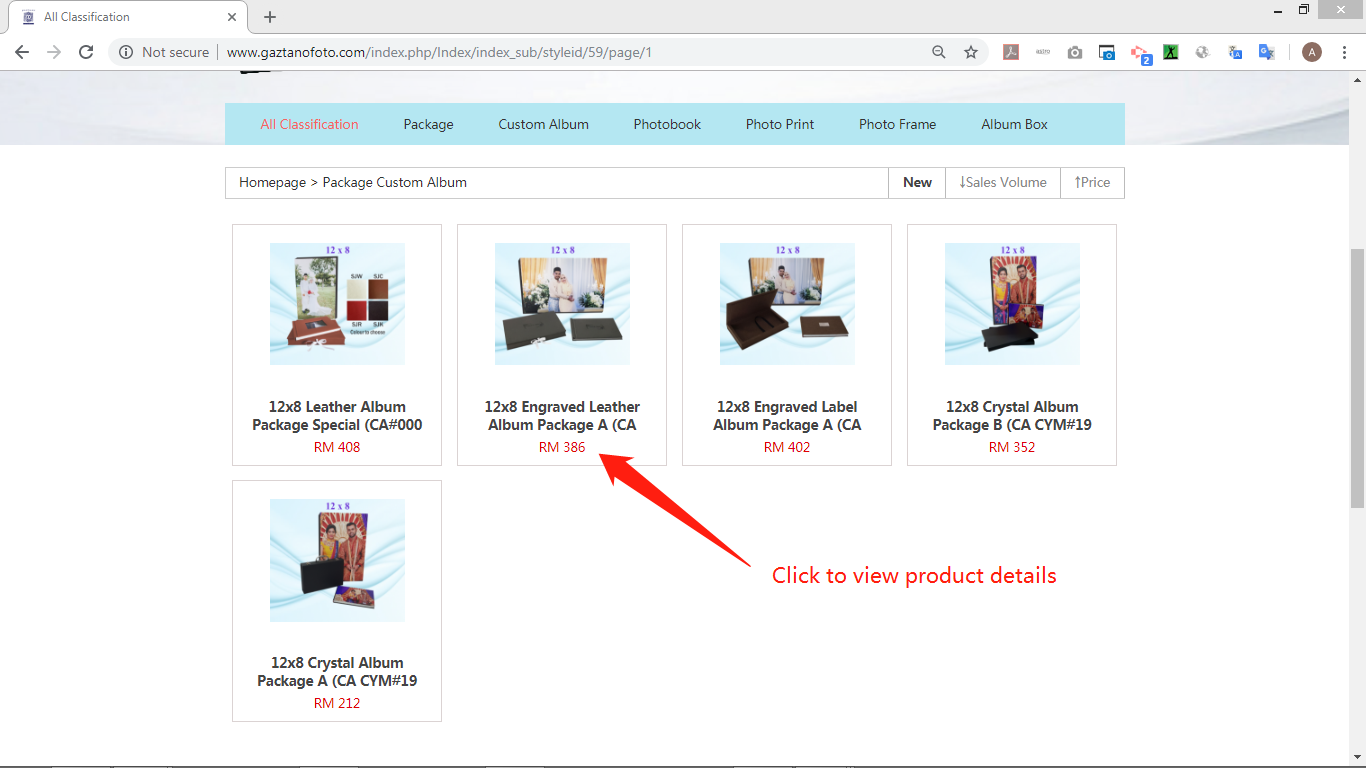
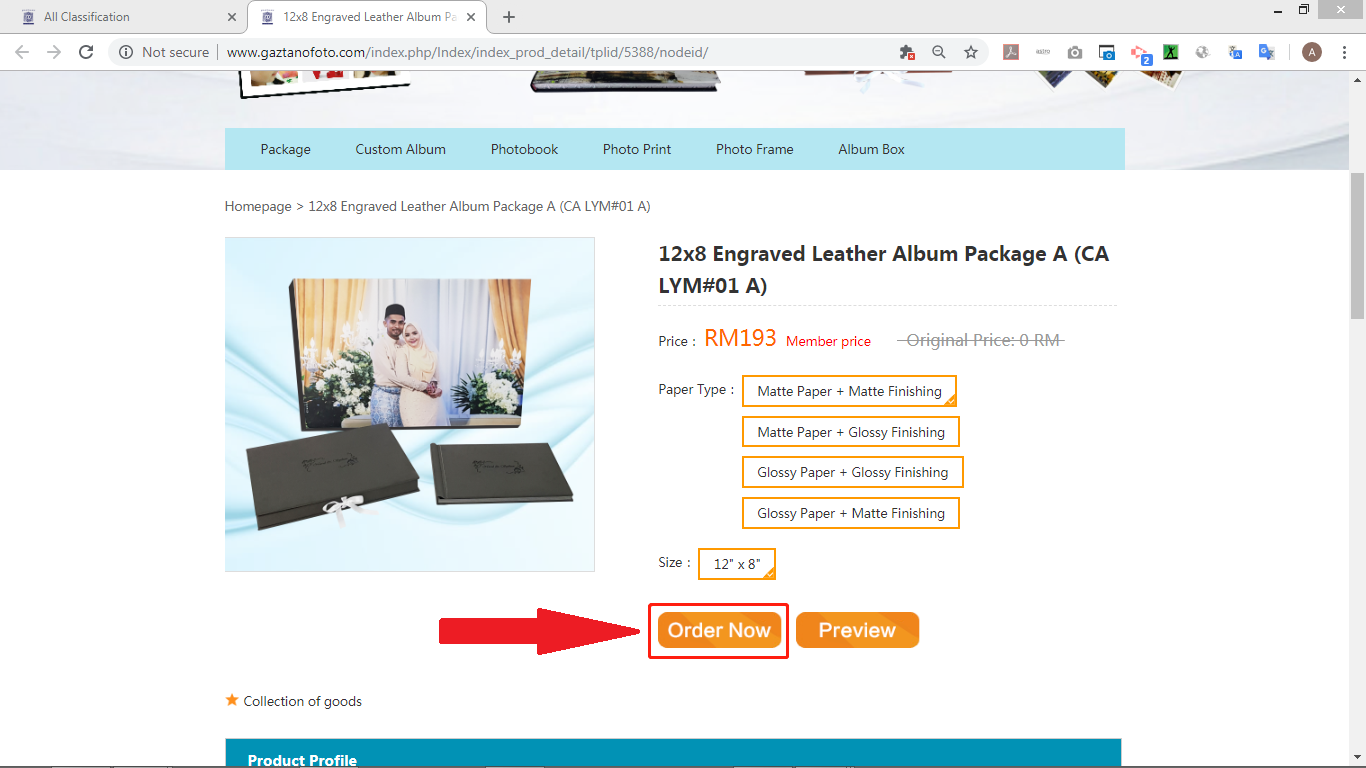
3) Select paper type and click “Order Now” to design your product.
4) In order to make sure the design smooth and quick, the design tools will display thumbnail size images but we will use the original size images to proceed your order during printing.
**Note :
1-The photo needs to be fully covered into grey area; otherwise there may be white edges when print out.
2-Important content such as (text, characters, etc.) Do not approach or exceed the red line suggestion area. Keep a distance of 6mm from the red line, otherwise it may be cropped.
3-Preview effect may be different depending on the user’s network.
4-Printing intention is solely base on your design photo template. We are not responsible for any defective/ blemish occurrence found in your design photo template.
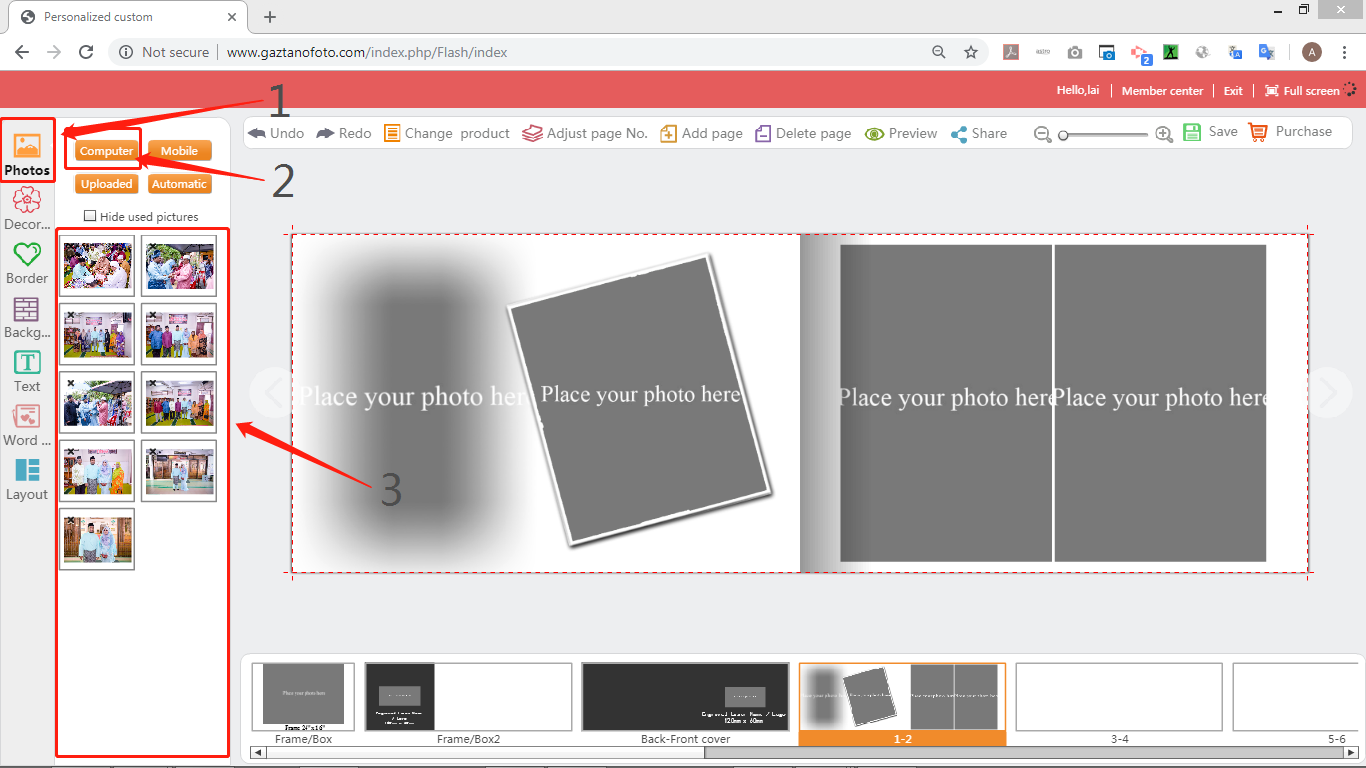
5) Click on the “Photos” button to import your photos from computer.
*Note: In order to produce high-quality print, please select photos with resolution of 300dpi.
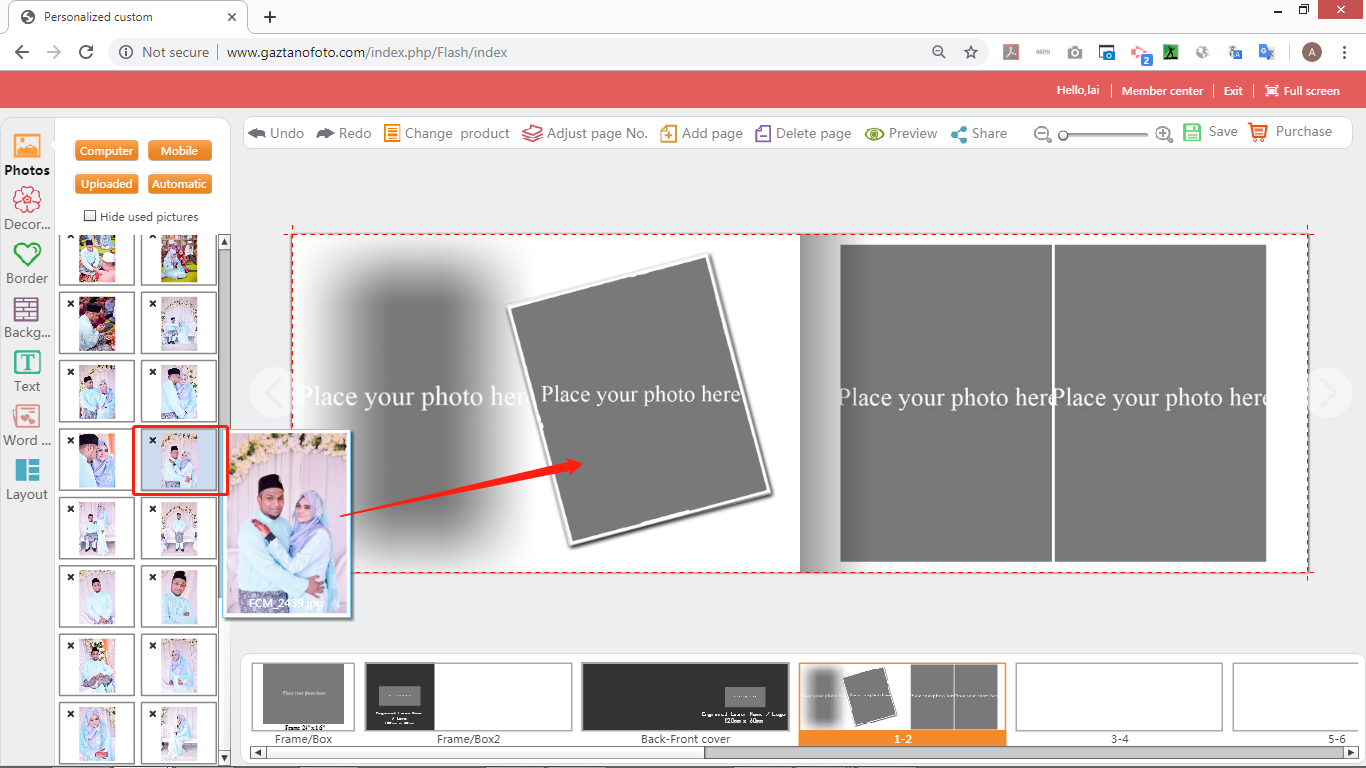
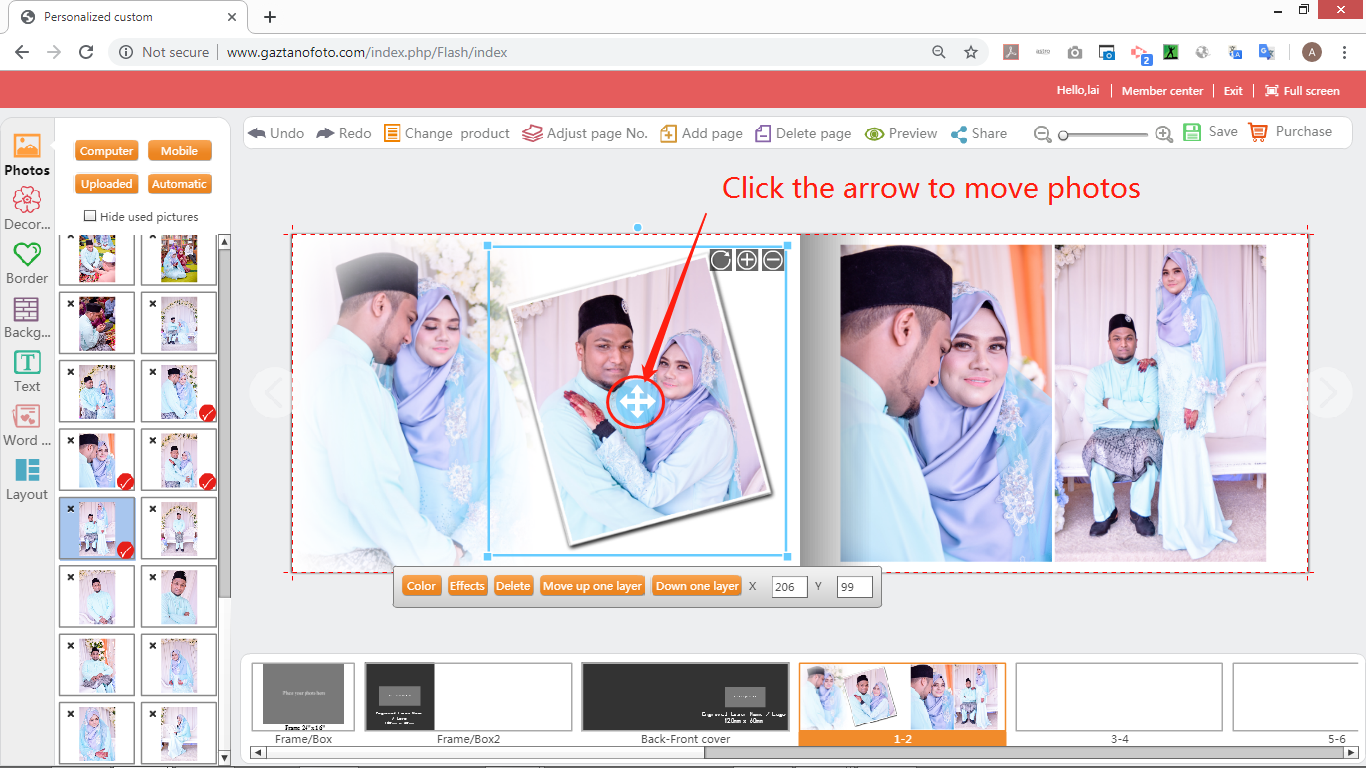
6) Drag the photo displayed on the left into the “Gray box of the picture area” on the right side, and clicks the picture to perform operations such as “size scaling, moving, rotating, cropping, etc.”
7) Click the arrow to move photo.
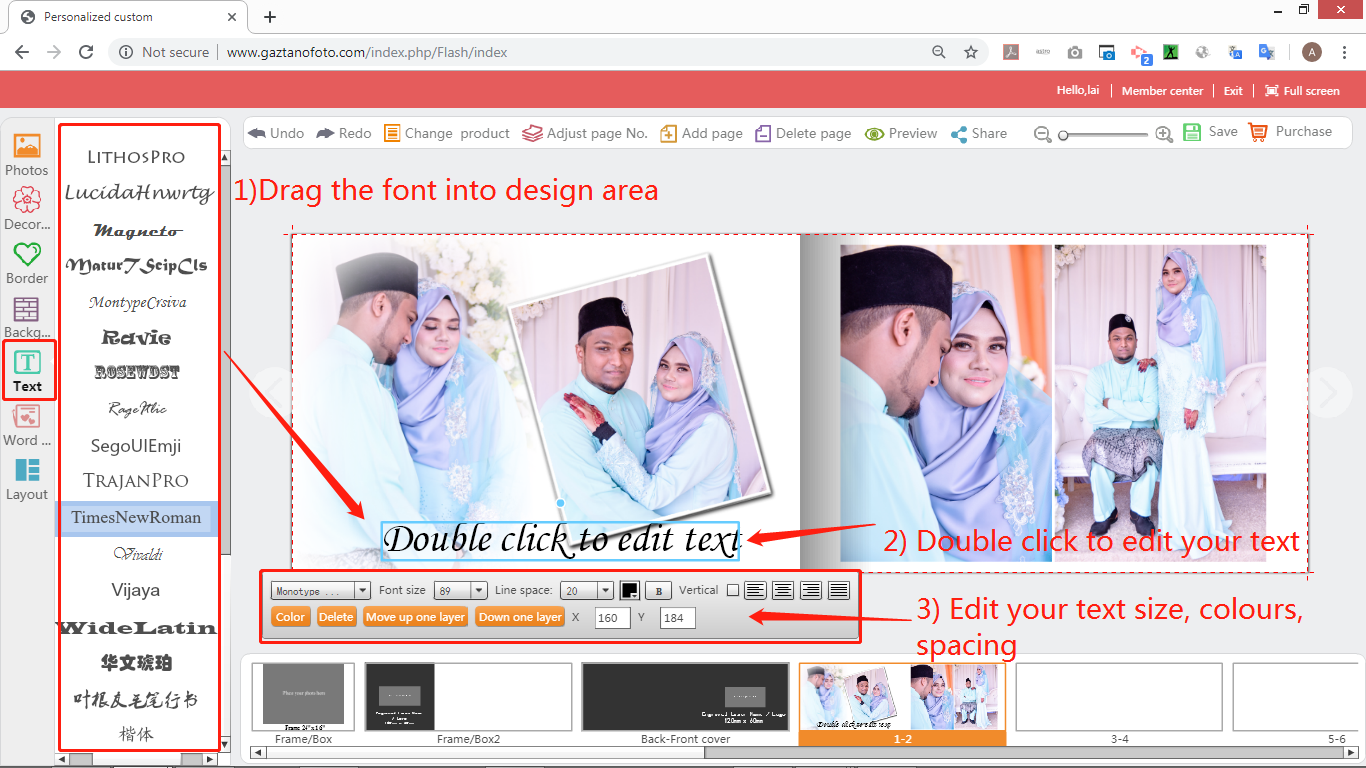
8) Click the "Text" button on the left and drag the selected font to the editing area. Double click to add any text content into the photo.
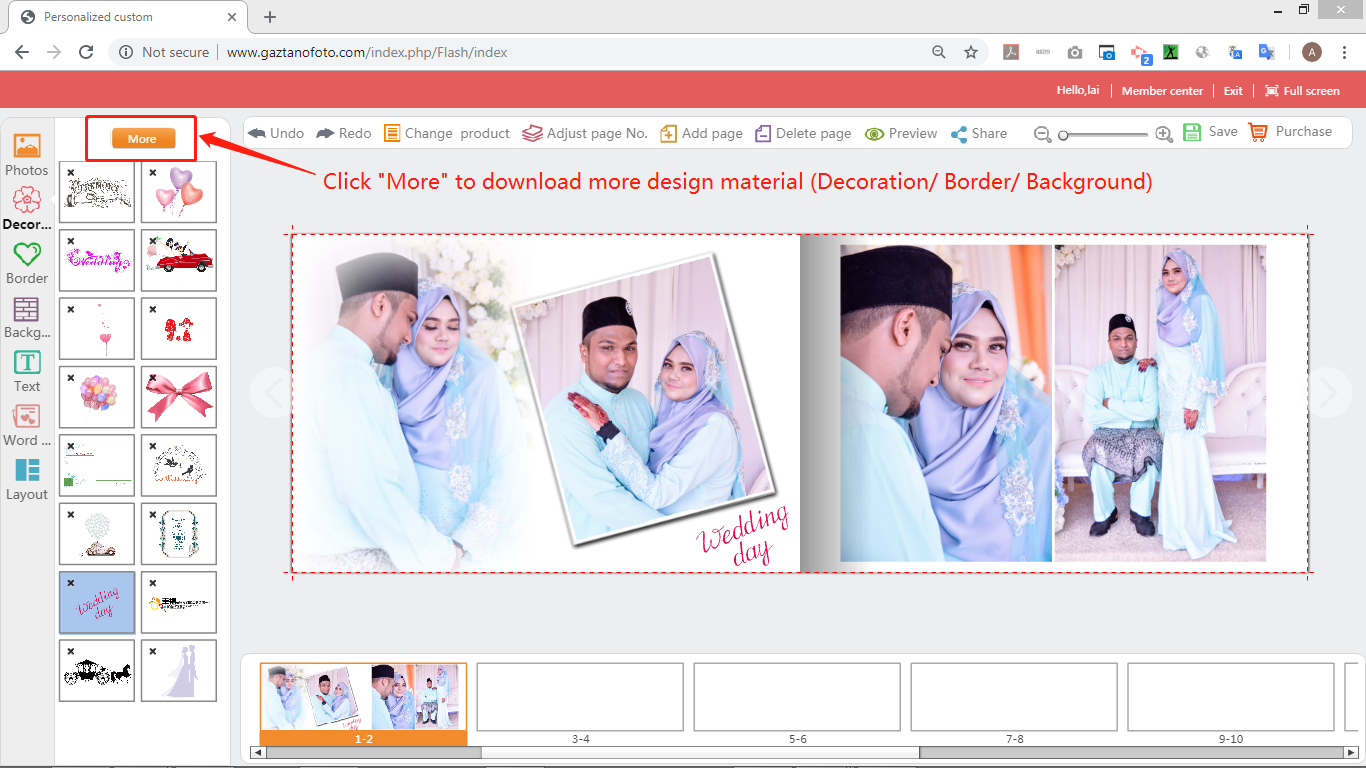
9) Click on the “More” button at the top to load more design material in the website (decorate clips, borders, backgrounds).
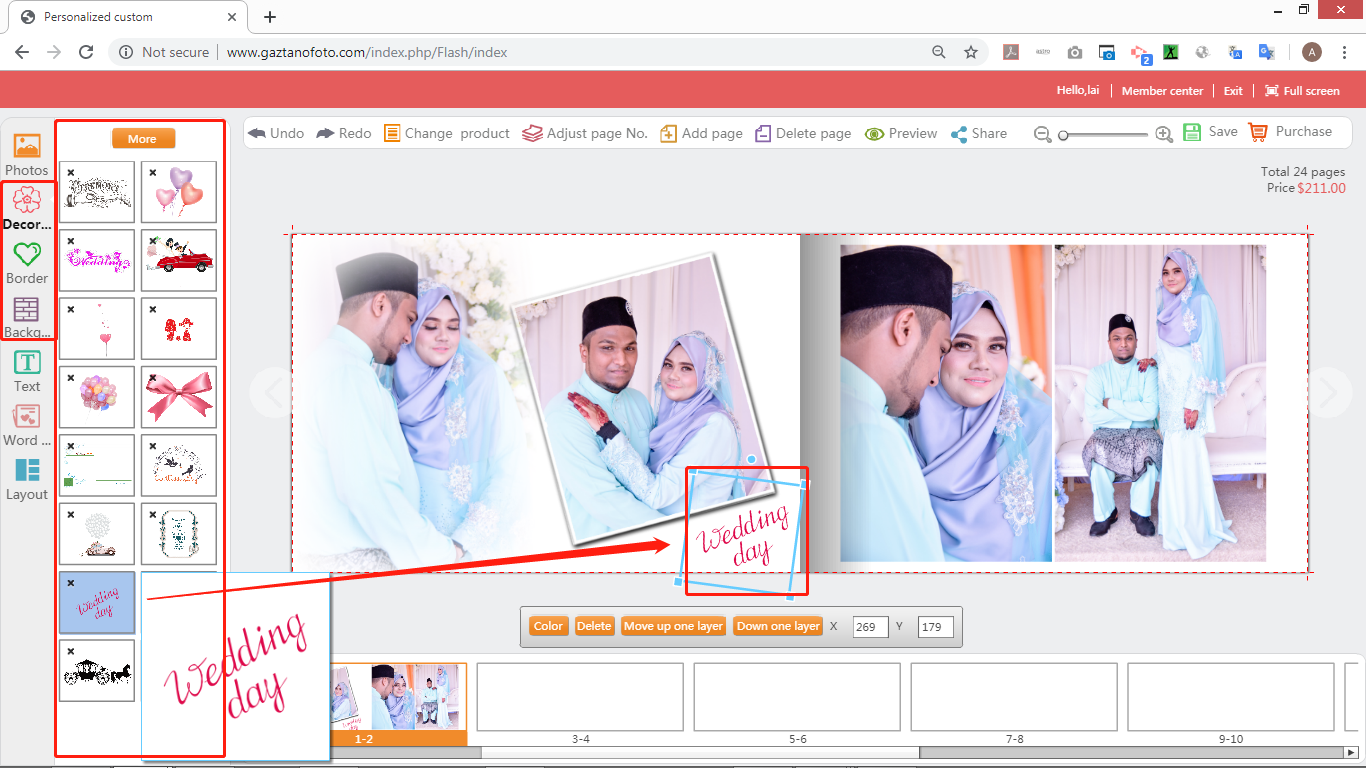
10)Click the tool area button on the left and drag the elements in the selected "Background, Decoration, Border" into the editing area to add various materials to design your work. (Clicks on the material and drags it into the editing area)
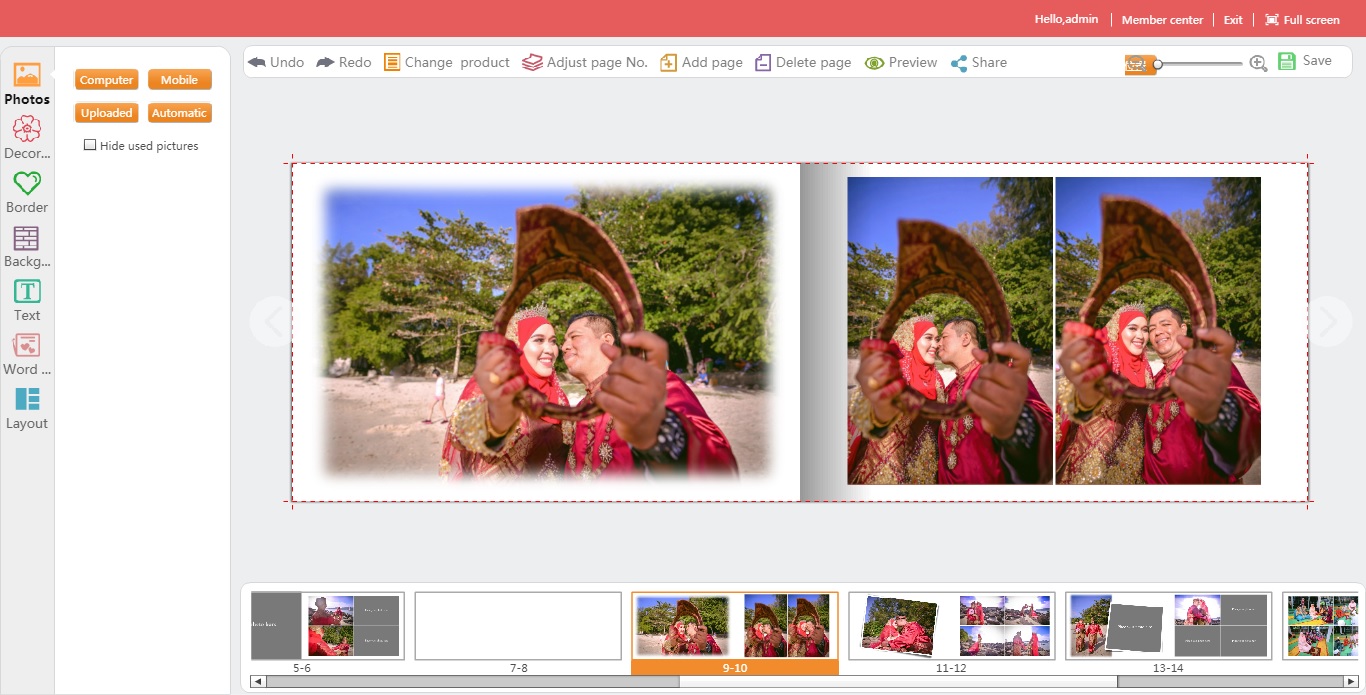
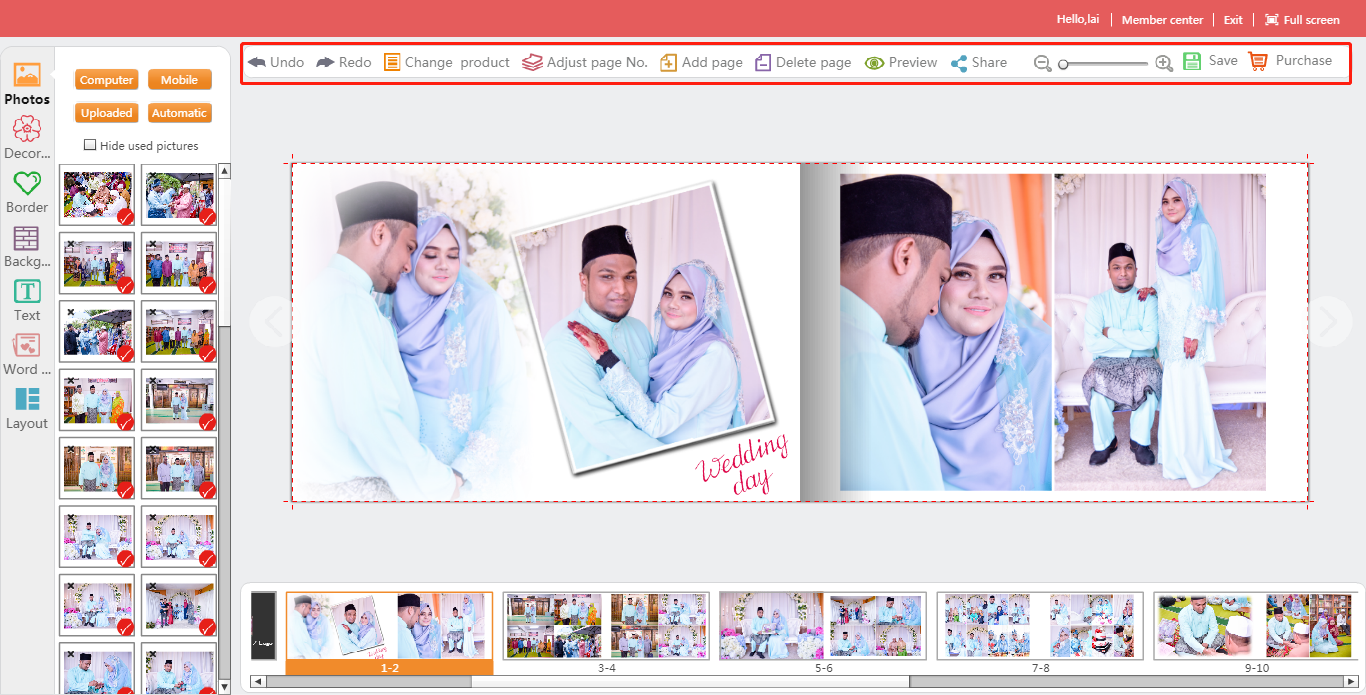
11)There are various function buttons on the top left of the change page number, adding pages, deleting pages, and etc.
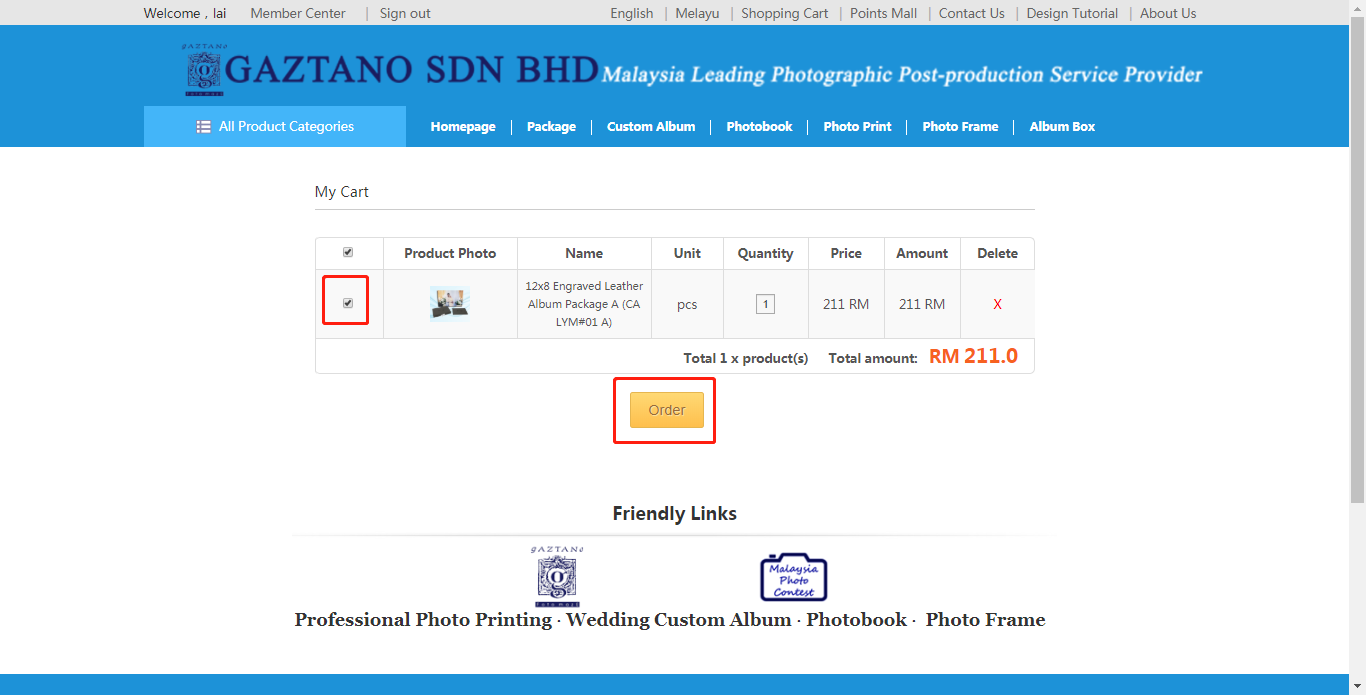
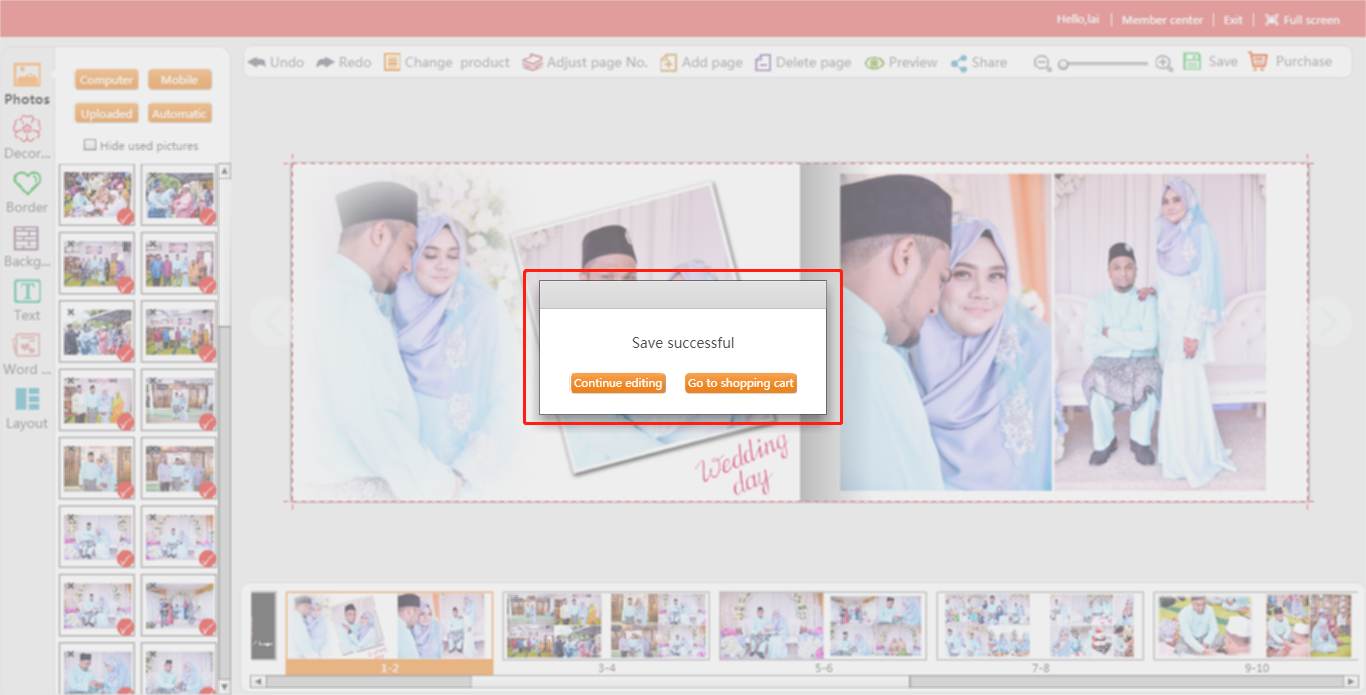
After designing the work, click the “Save” button in the lower right corner to save your works into your member center and add to the shopping cart to place an order.
12) Select your work in shopping cart and click “Order” to make payment.